CHAPTER 10 - Installing the Real Time Clock Battery
CAUTION: The clip mechanism in the battery holder is easy to break. If your OpenSpand shipped with a real time clock battery installed, then you probably won't need to change it for several years, but if you do have reason to install or remove the battery please read these instructions first.
You will first need to open the OpenSpand case, the instruction for which you can find here.
How to REMOVE THE Real TIME CLOCK Battery
THIS SECTION NOT YET CREATED
How to Insert a CR2032 Battery in a tinyRTC Module
The tinyRTC modules commonly use a CR2032 battery holder that can be surprisingly awkward to use. There is a simple technique that makes inserting the battery much easier.
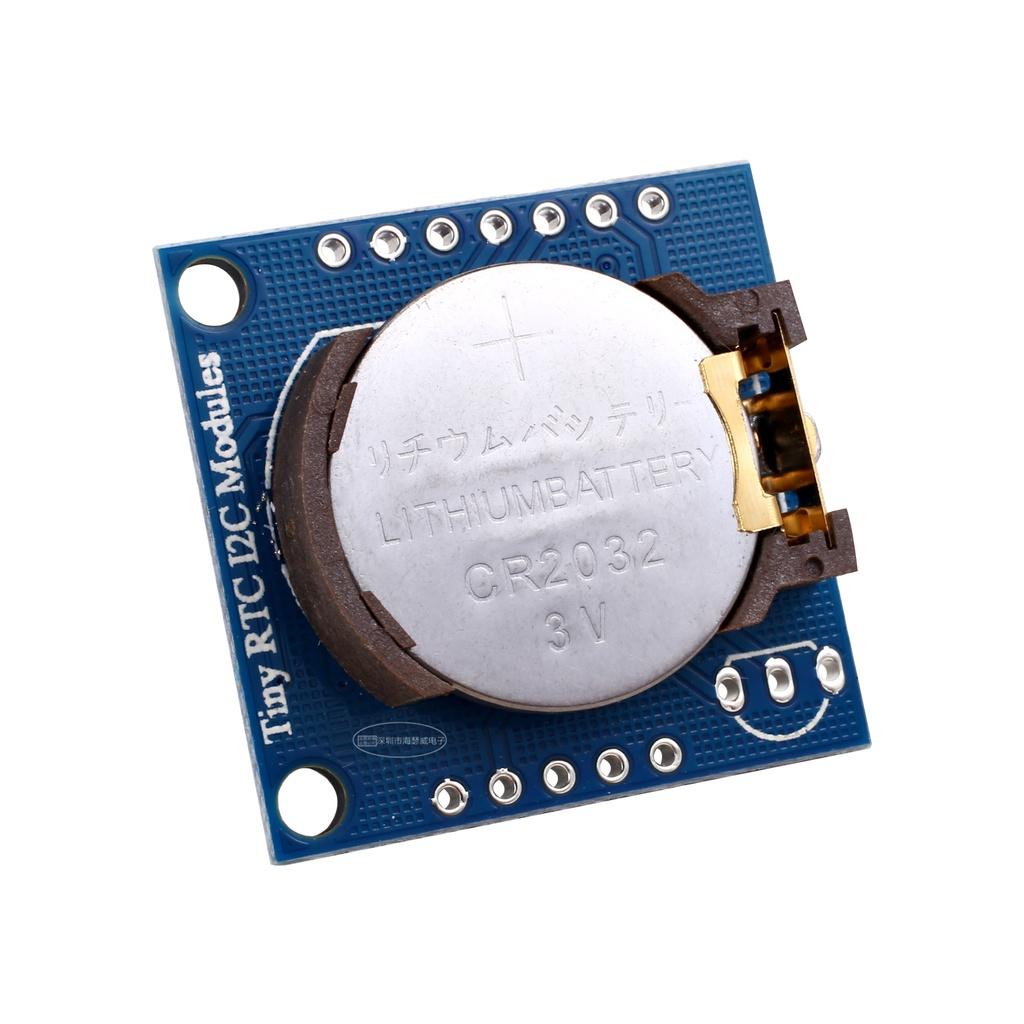 |
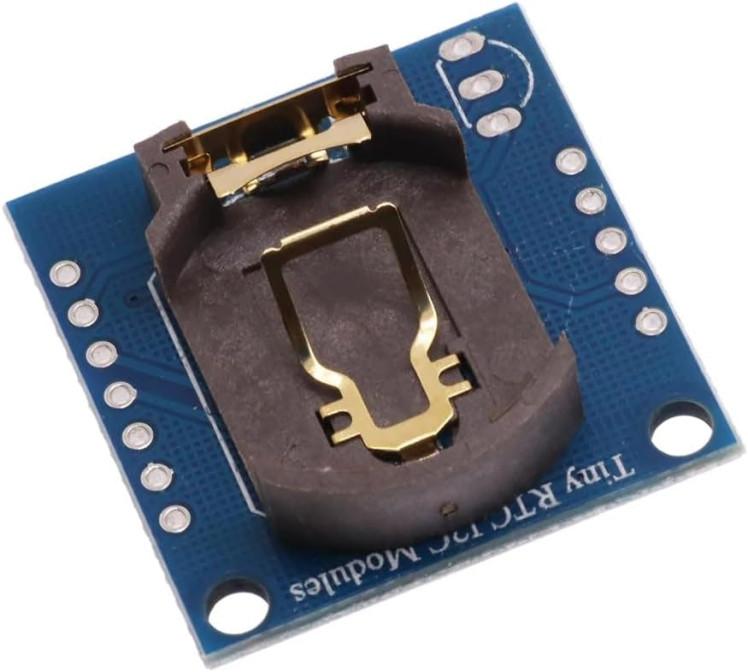 |
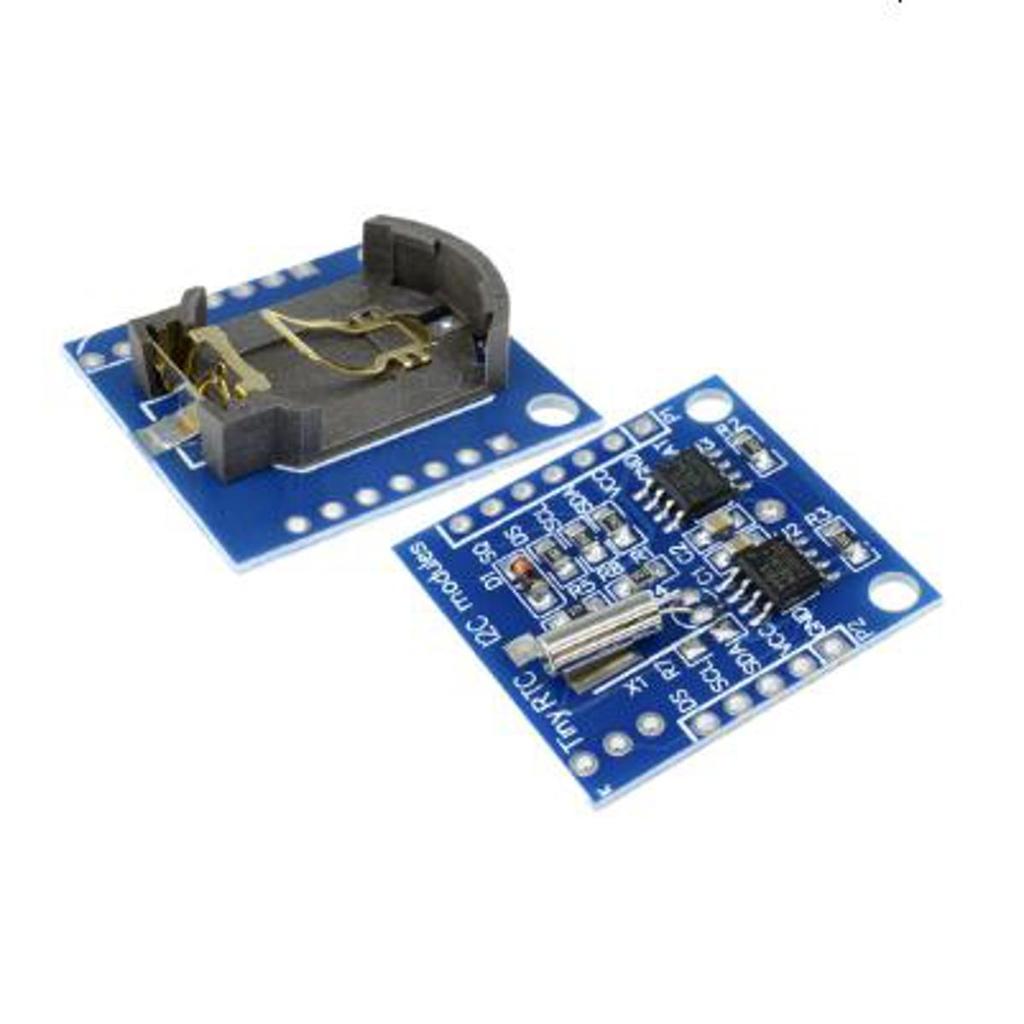 |
The Trick
Don't try to push the battery straight down into the holder.
- Identify the positive side of the CR2032. The side with the large flat surface and + marking goes up.
- Look at the battery holder. One end normally has a spring or metal clip that needs to slide over the edge of the battery.
- Insert the battery edge-first. Slide one edge of the battery underneath the fixed lip of the holder.
- Tilt the battery downward. Keep the first edge underneath the lip while pressing the opposite edge downward.
- Snap the opposite edge into place. The battery should click underneath the spring contact and sit securely in the holder.
Think of It This Way
Hook one edge → Tilt the battery down → Snap the other edge in
In other words, the battery goes into the holder at an angle rather than being pushed vertically straight down.
Don't Force It
Some inexpensive tinyRTC boards have very tight or poorly formed battery clips. If the battery refuses to go in, don't force it with a screwdriver or other tool.
The battery holder is often soldered directly to the PCB, and excessive force can bend the contact or even pull the holder away from the circuit board.
If you are having trouble, examine the holder carefully and make sure you are inserting the battery under the correct lip before pressing the opposite edge down.
One More Thing
There are several slightly different versions of tinyRTC/DS1307 modules, and their battery holders are not all identical. There are several slightly different versions of tinyRTC/DS1307 modules, and their battery holders are not all identical. The technique above works with the module supplied in the Zebra Systems, Inc. OpenSpands
User Guide
- Home
- Users Guide
- Conventions used in this guide
- CHAPTER 1: OpenSpand Compatibility
- CHAPTER 2: Connecting Your OpenSpand
- CHAPTER 3: Choosing Your Display Settings
- CHAPTER 4: Testing Your OpenSpand
- *CHAPTER 5: Storing Programs on SD Cards
- CHAPTER 6 - Removing OpenSpand from its case without damaging it.
- *CHAPTER 7: Using a Joystick
- CHAPTER 7A: OpenSpand Sound Output
- CHAPTER 8: Setting Your Real Time Clock
- Chapter 9 - The OpenSpand Configuration Screen
- Chapter 10 - Installing your Real Time Clock Battery
- * Introduction
- *CHAPTER 5A - The OpenSpand Configuaration Screen
- !! Chapter titles preceded by an asterisk * have not been written yet !!
- INDEX TO DEMO SOFTWARE ROUTINES
- FAQs
- CONTACT