CHAPTER 4: Choosing Your Display Settings
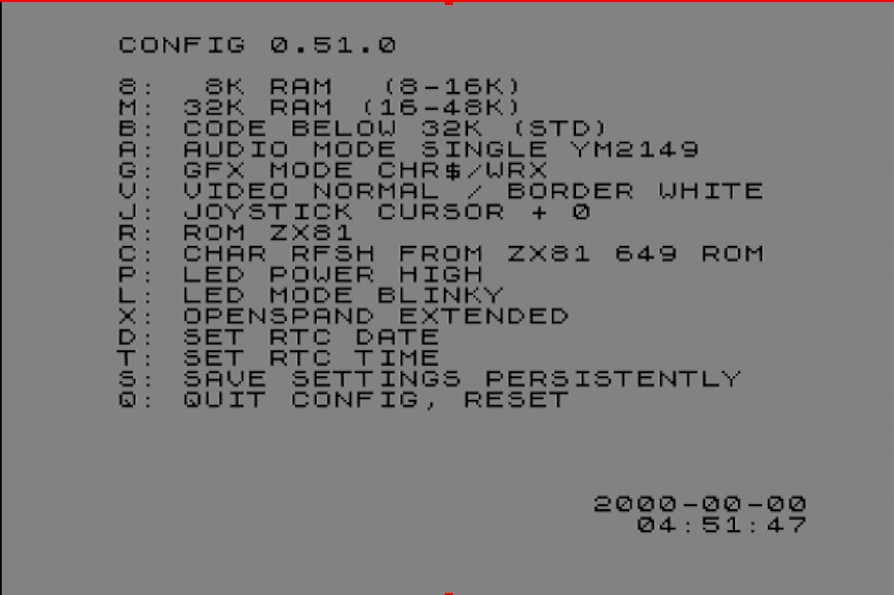
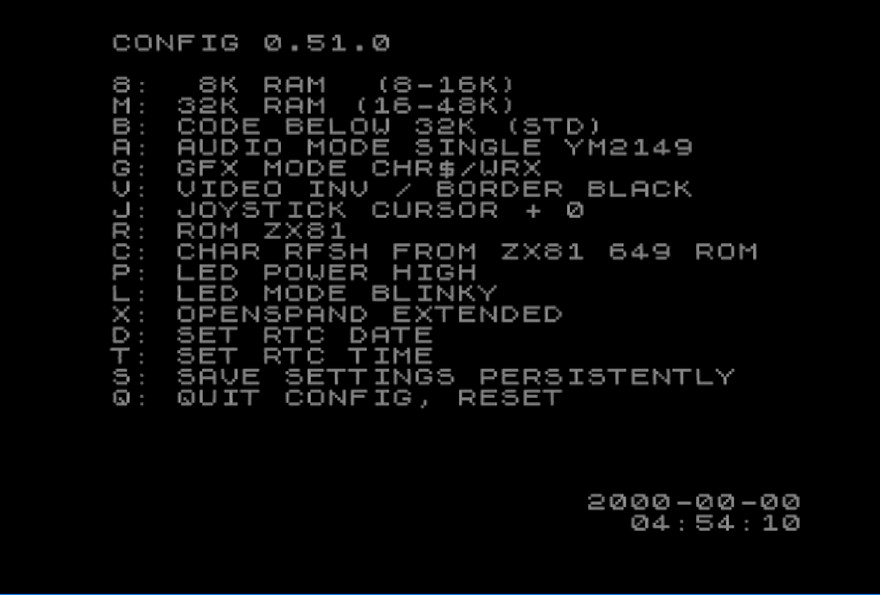
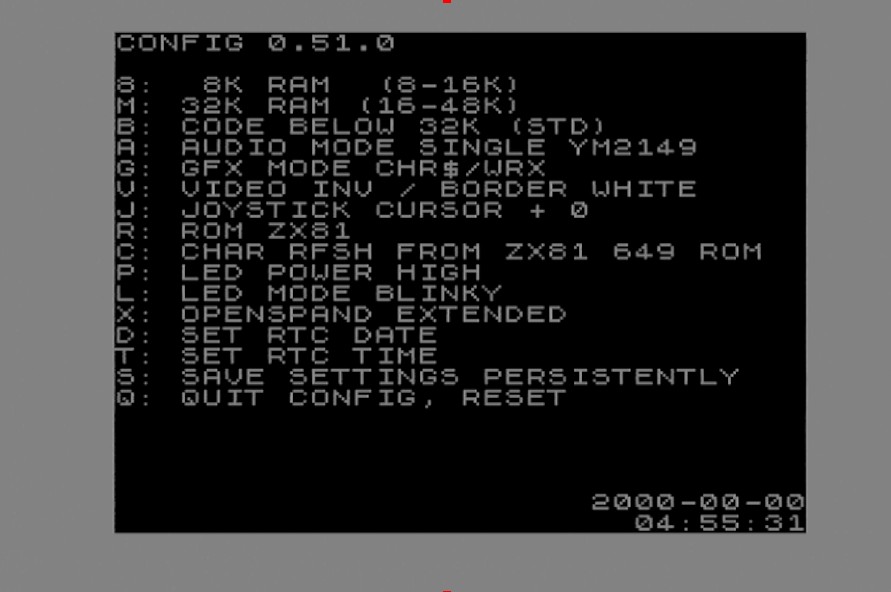
These are four OpenSpand video settings:
 |
 |
|
VIDEO NORMAL / BORDER WHITE
|
VIDEO INV / BORDER BLACK
|
 |
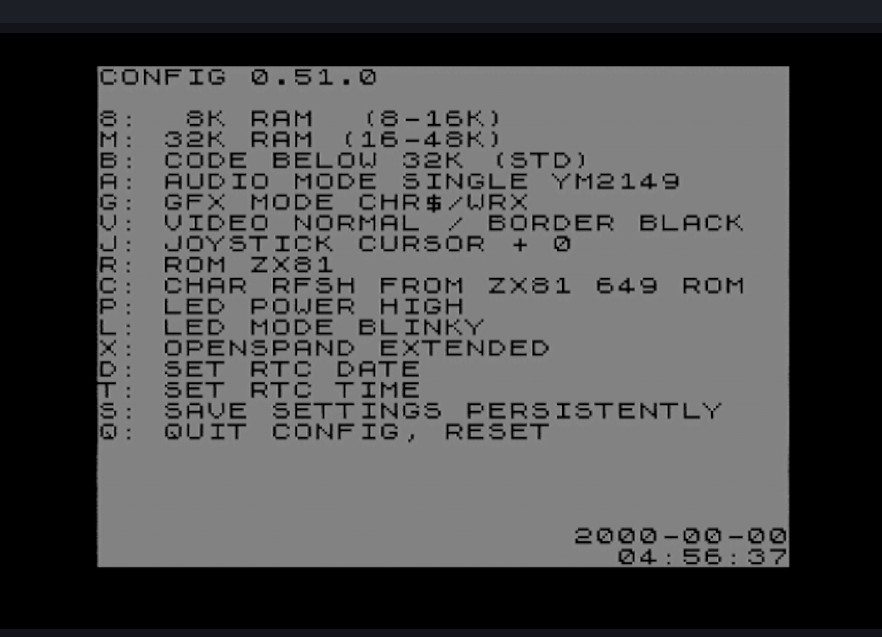 |
| VIDEO INV / BORDER WHITE | VIDEO NORMAL / BORDER BLACK |
How to Set the display in the configuration panel
Pressing the right button on top of your OpenSpand will bring up the CONFIGURATION screen on your display. Note that any program you had in memory will be lost since OpenSpand exits CONFIGURATION by essentially doing a reset of your computer.
In CONFIGURATION, each press of the letter V advances through the next one of the four possible display settings in the following order:
- VIDEO NORMAL / BORDER WHITE
- VIDEO INV / BORDER BLACK
- VIDEO INV / BORDER WHITE
- VIDEO NORMAL / BORDER BLACK
As an example, if you were currently in VIDEO INV / BORDER WHITE mode and you wanted to set the display to VIDEO INV / BORDER BLACK mode you would type this 5-key sequence.
| Key Press | Action |
| V | changes to VIDEO NORMAL / BORDER BLACK |
| V | changes to VIDEO NORMAL / BORDER WHITE |
| V | changes to VIDEO INV / BORDER BLACK |
| S | SAVE SETTINGS PERSISTANTLY |
| Q | QUIT CONFIG, RESET |
How to Set the display programatically
An alternative way to set your screen mode is to use one of these BASIC POKE commands to ROM address 16. These changes are not persistant.
| POKE 16, 90 | Set video normal, border white. Border is changed on OpenSpand video output, not ULA. |
| POKE 16, 91 | Set video inverted, border black. Border is changed on OpenSpand video output, not ULA. |
| POKE 16, 92 | Set video inverted, border white. Border is changed on OpenSpand video output, not ULA. |
| POKE 16, 93 | Set video normal, border black. Border is changed on OpenSpand video output, not ULA. |
Here is a short BASIC routine that cycle through the 4 available display modes using the POKE to ROM address.
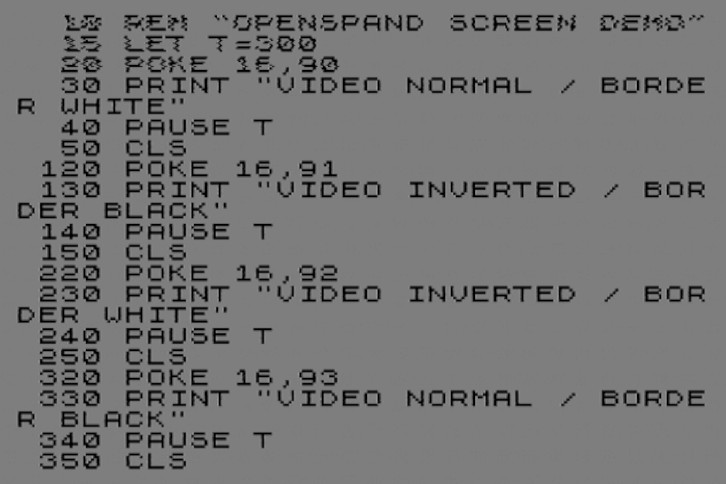
TODO:
Make .p files downloadable
Include a video of the demo running.
Revise to fill the screen with the character set including graphics, perhaps some motion
Create a video demonstrating persistance of CONFIGURATION setting vs ROM POKE.
User Guide
- Home
- Users Guide
- Conventions used in this guide
- CHAPTER 1: OpenSpand Compatibility
- CHAPTER 2: Connecting Your OpenSpand
- CHAPTER 3: Choosing Your Display Settings
- CHAPTER 4: Testing Your OpenSpand
- *CHAPTER 5: Storing Programs on SD Cards
- CHAPTER 6 - Removing OpenSpand from its case without damaging it.
- *CHAPTER 7: Using a Joystick
- CHAPTER 7A: OpenSpand Sound Output
- CHAPTER 8: Setting Your Real Time Clock
- Chapter 9 - The OpenSpand Configuration Screen
- Chapter 10 - Installing your Real Time Clock Battery
- * Introduction
- *CHAPTER 5A - The OpenSpand Configuaration Screen
- !! Chapter titles preceded by an asterisk * have not been written yet !!
- INDEX TO DEMO SOFTWARE ROUTINES
- FAQs
- CONTACT