Chapter 4: Testing Your OpenSpand
Here is a short video demonstrating OpenSpand beginning with powering up your computer and then running a simple program.
Alternatively, the content is the same, but you can follow this slide show and/or transcript.








VIDEO
Starts ZX81 off
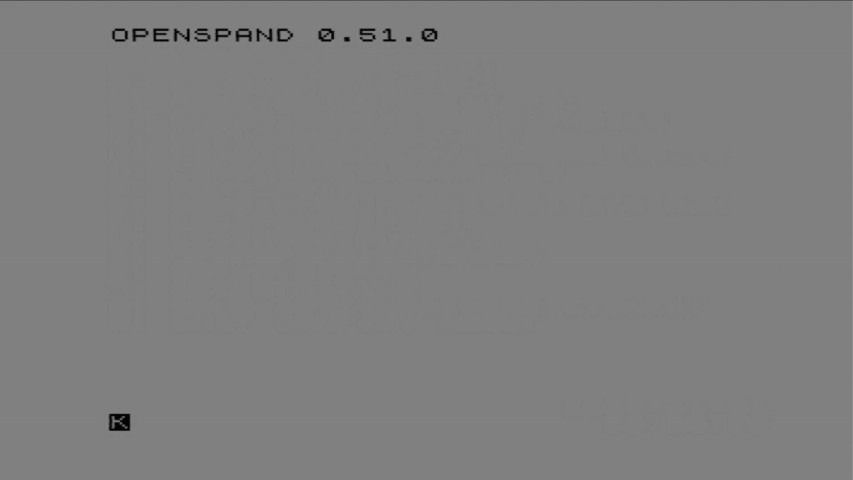
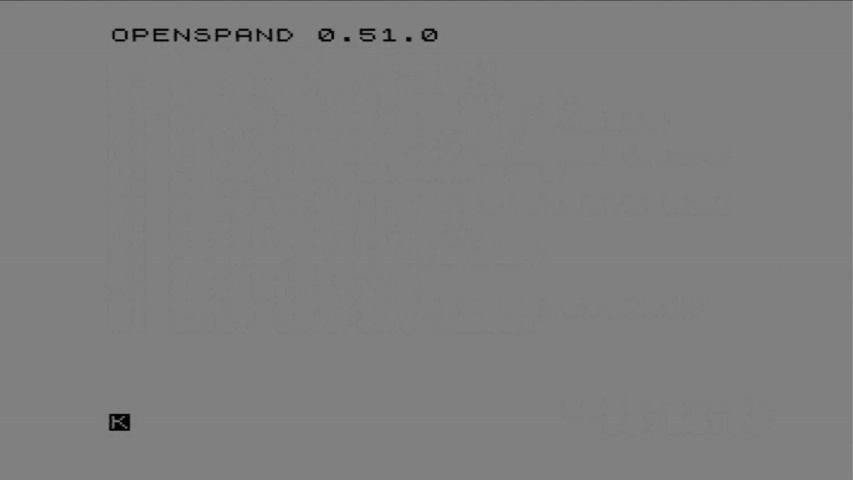
Power up ZX81
The initial screen show OPENSPAND with the build version currently 1.xxxx
I'll press ENTER and we have the famous K cursor and we are ready to go
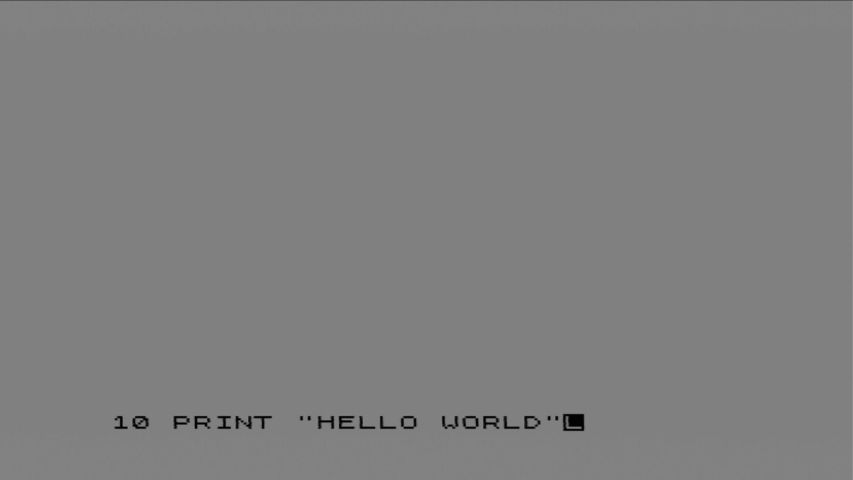
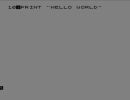
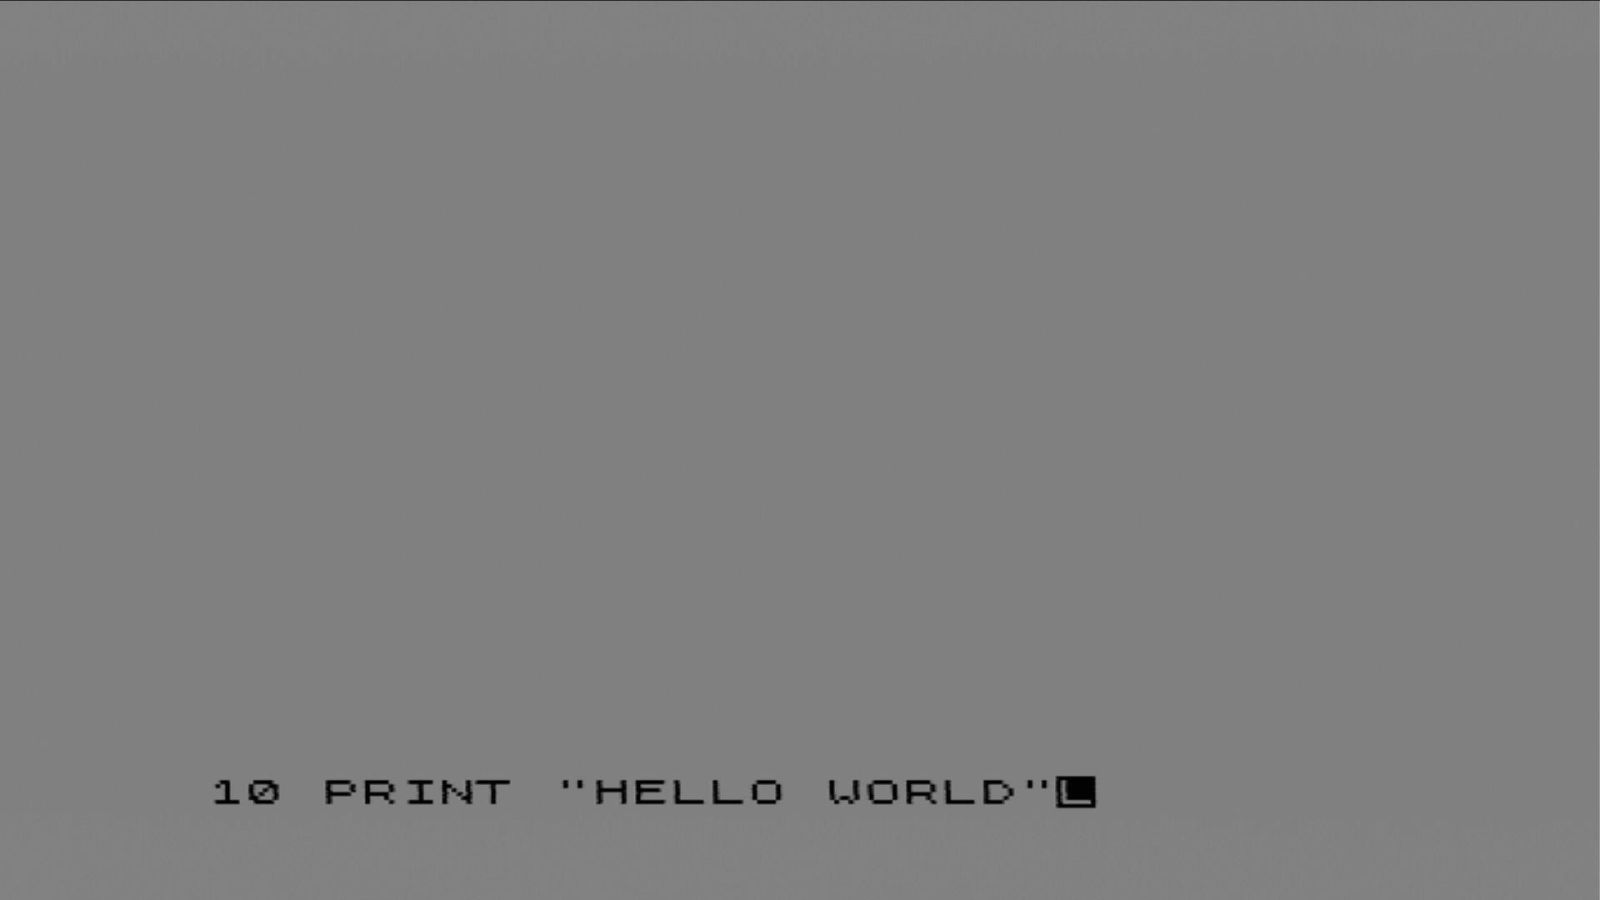
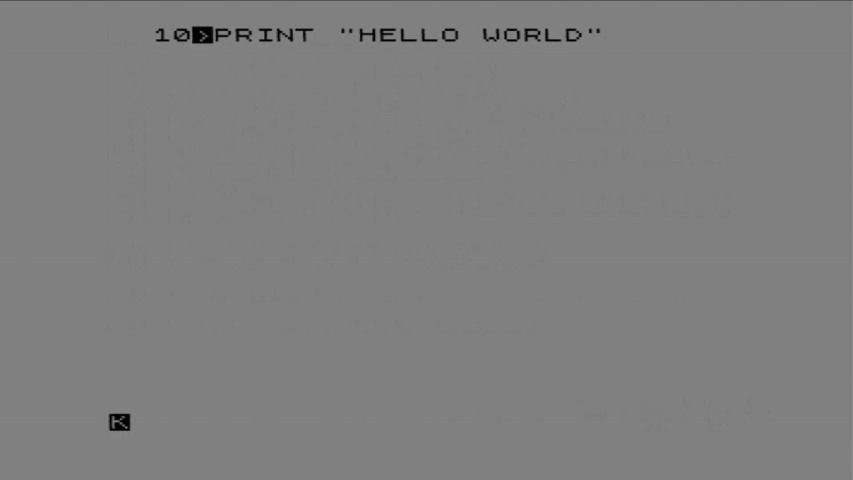
I'll type in this 3 line demo Program
10 REM "OPENSPAND TEST
20 PRINT "HELLO WORLD"
30 GOTO 20
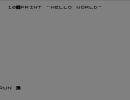
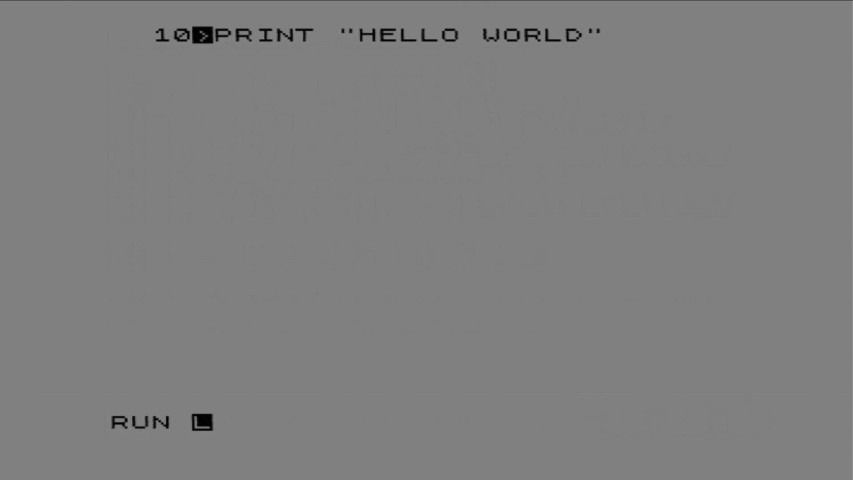
And now i'll press R amd ENTER to run it
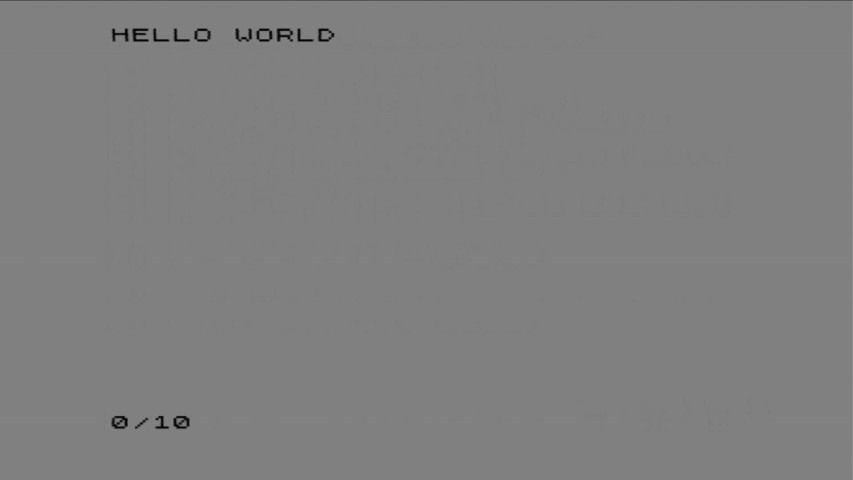
It filled the screen with the looping print string and terminated
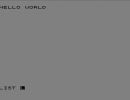
I'll [ress CLS ENETER to clear the screen
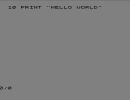
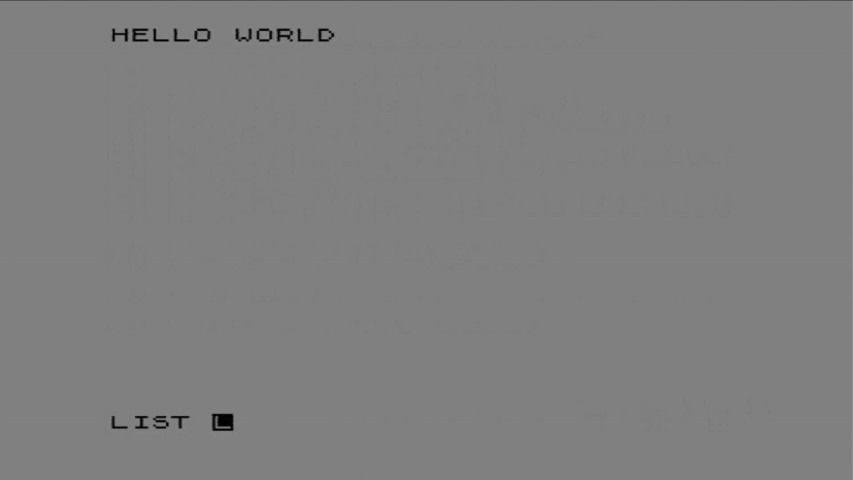
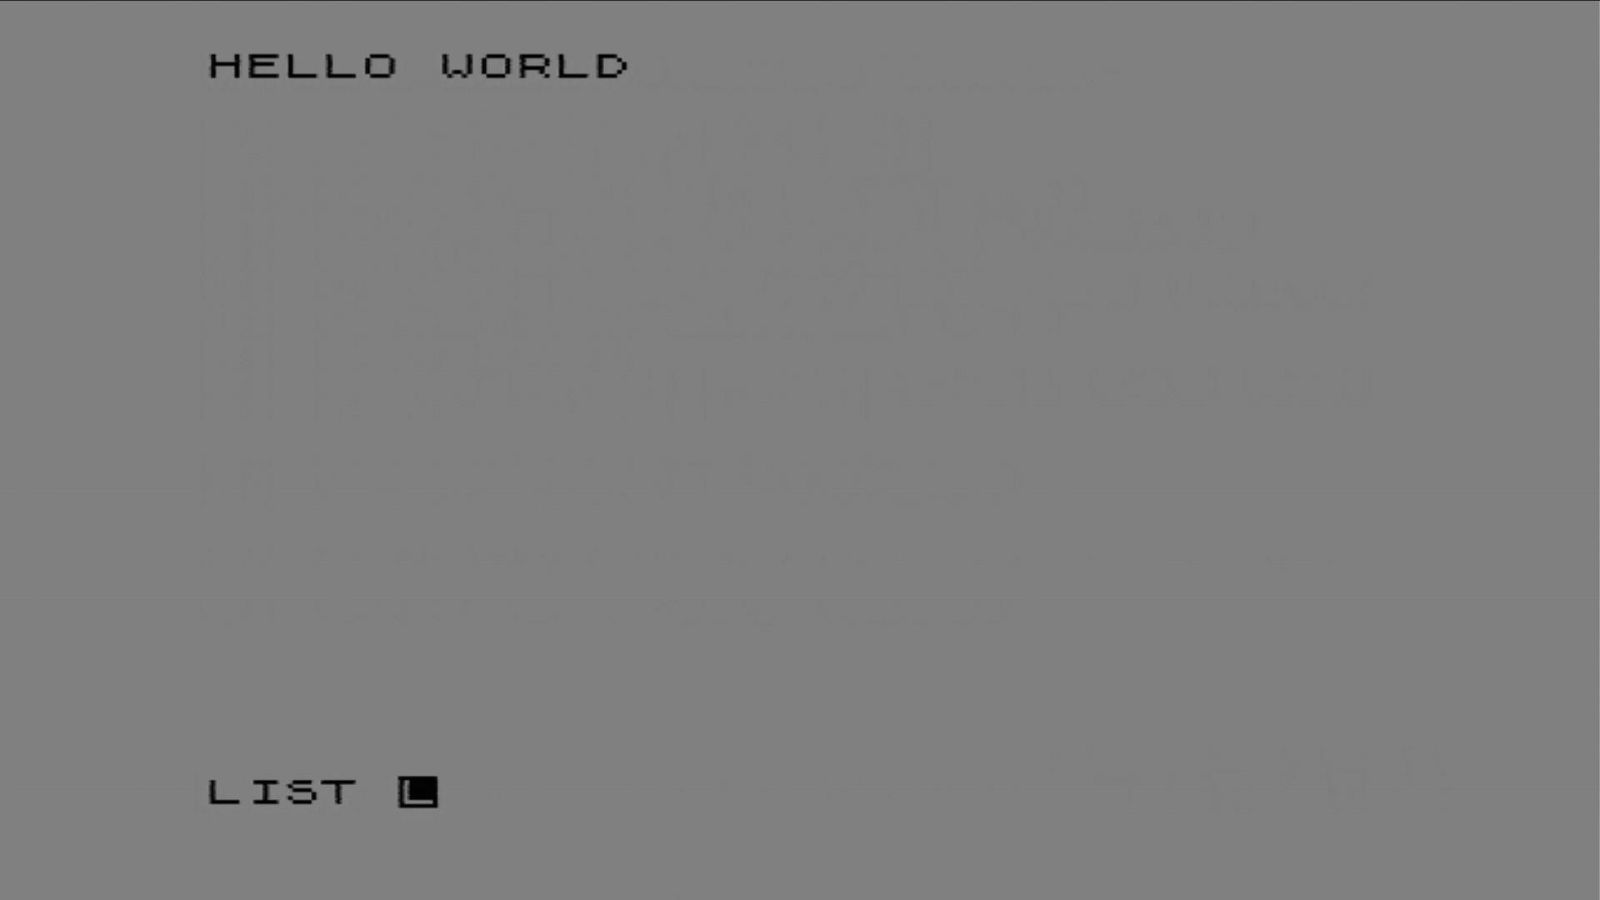
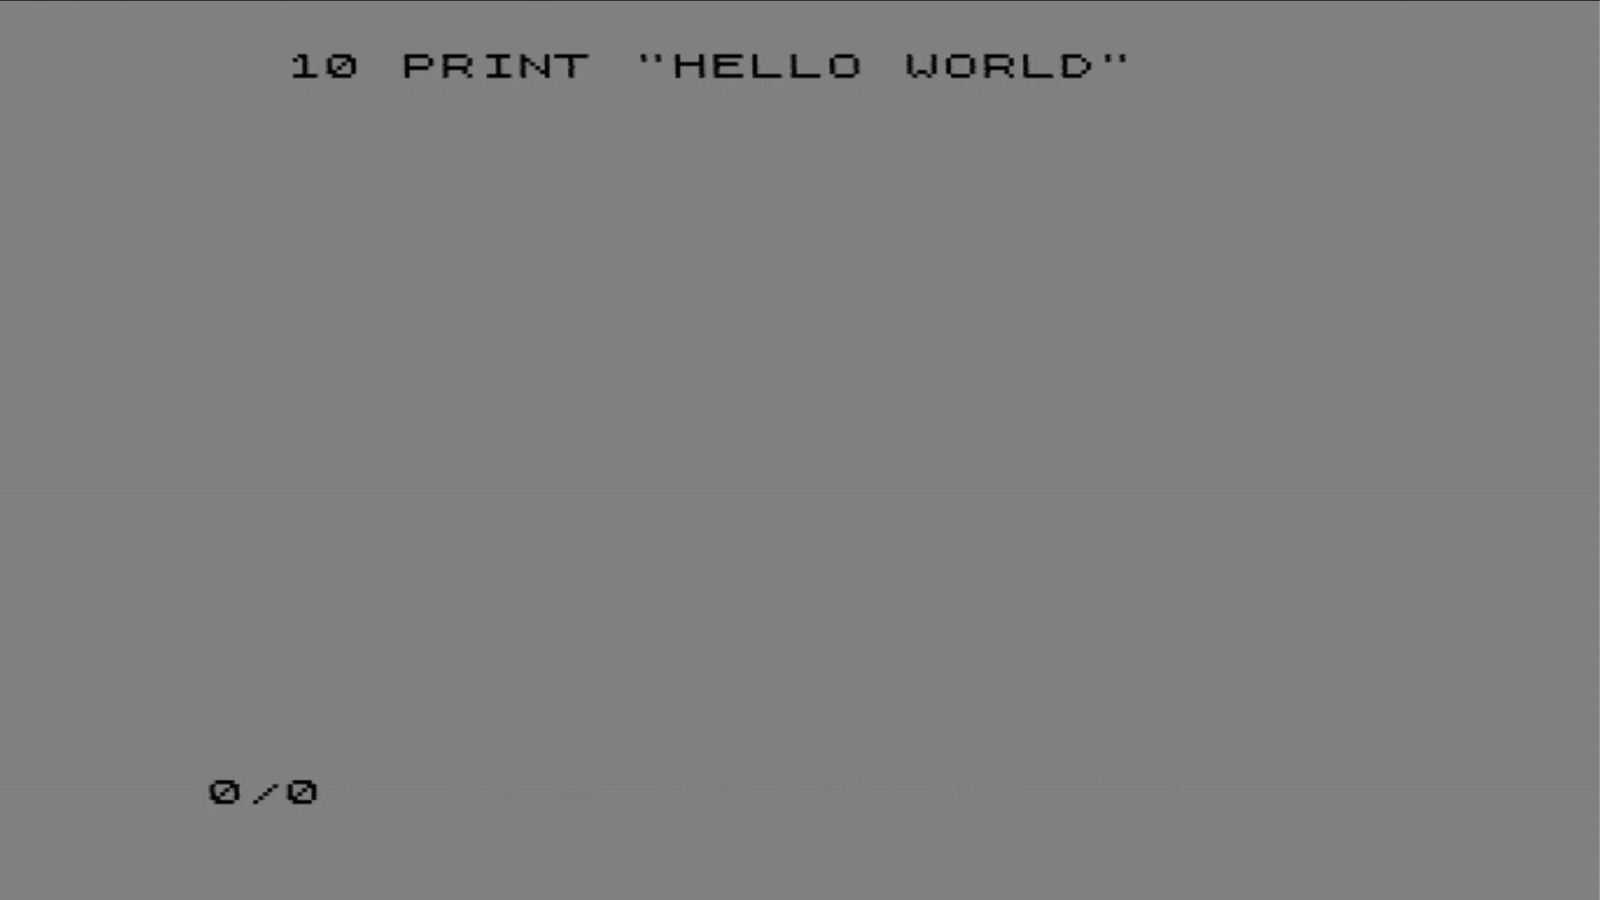
I'll pres K to list it.
I think we have confirmed some basic function so it is time to move on to optimizing our display settings.
DISPLAYING THE TIME AND DATE
This example demonstrates how to read the date and time from the OpenSpand Real-Time Clock (RTC). The date is displayed in YYYY-MM-DD format and the time in 24-hour HH:MM:SS format.
10 PRINT "DATE ";
20 ZXPAND "GET DAT"
30 FOR I=0 TO 9
40 PRINT CHR$ (PEEK (16449+I));
50 NEXT I
60 PRINT
70 PRINT "TIME ";
80 ZXPAND "GET TIM"
90 FOR I=0 TO 7
100 PRINT CHR$ (PEEK (16449+I));
110 NEXT I
You can type this BASIC program into your ZX or you can download the program in a .zip file and extract it to get a .p file that you can copy to an SD card for your OpenSpand.
Download RTCDATE.P as a .ZIP file here
Running this program will print the date and time in this format:
DATE 2026-10-03
TIME 22:15:47
User Guide
- Home
- Users Guide
- Conventions used in this guide
- CHAPTER 1: OpenSpand Compatibility
- CHAPTER 2: Connecting Your OpenSpand
- CHAPTER 3: Choosing Your Display Settings
- CHAPTER 4: Testing Your OpenSpand
- *CHAPTER 5: Storing Programs on SD Cards
- CHAPTER 6 - Removing OpenSpand from its case without damaging it.
- *CHAPTER 7: Using a Joystick
- CHAPTER 7A: OpenSpand Sound Output
- CHAPTER 8: Setting Your Real Time Clock
- Chapter 9 - The OpenSpand Configuration Screen
- Chapter 10 - Installing your Real Time Clock Battery
- * Introduction
- *CHAPTER 5A - The OpenSpand Configuaration Screen
- !! Chapter titles preceded by an asterisk * have not been written yet !!
- INDEX TO DEMO SOFTWARE ROUTINES
- FAQs
- CONTACT